I saw this post for a car bag over at Seven Thirty Three, whose automated linkups somehow catch some of my crafts.
First it's a tote bag.....

That unfolds....

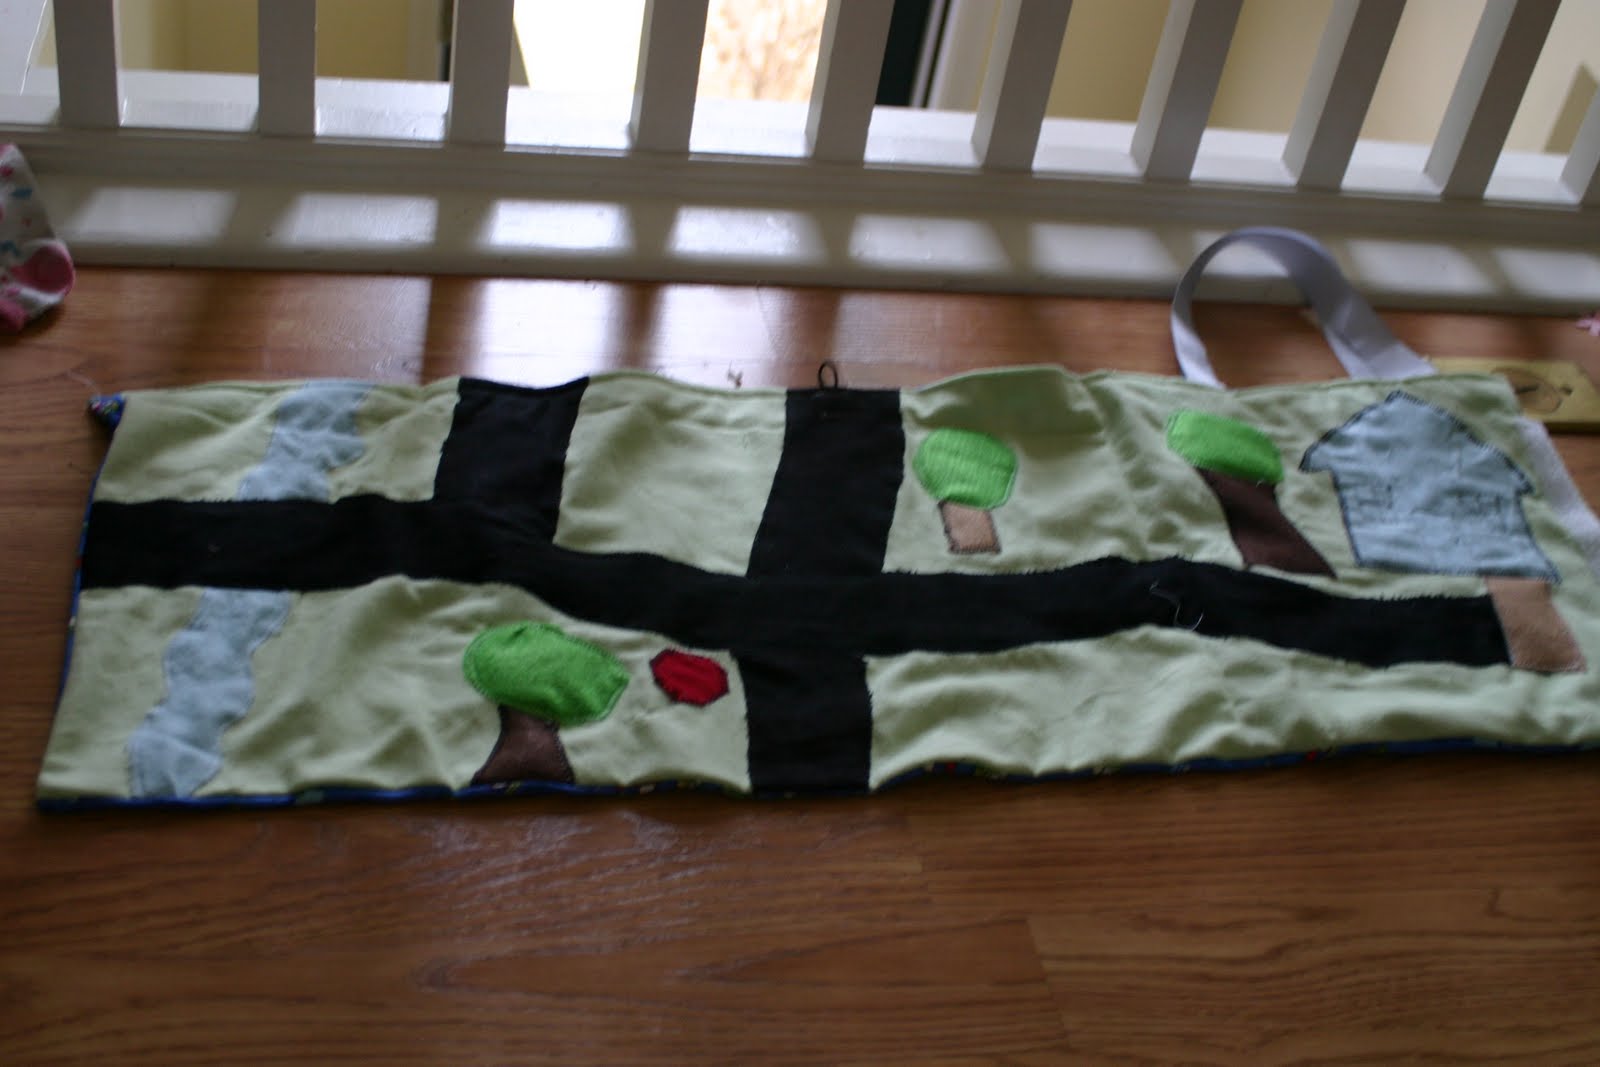
Into a playmat! Amazing, right?!

Ok so let's start with measurements.
My finished tote bag is approximately 11" by 10."
You need three body fabrics.
- Outer fabric/Car Pattern: 33" by 11"
- Grass fabric for putting roads on: 33 by 11"
- Lining fabric: 22.5" by 11"
For notions, you need:
2 qty 16 inch grosgrain or heavy ribbon for bag handle.
8-10 inches of velcro, both the soft side and hook side
Button
3 inches of cord elastic
You need some other random fabric scraps, felt or otherwise, for the roads:
- Black fabric
- House
- Tree fabric
- Stop Sign
- River
Ok. Let's get started!

Your body of fabric should look a little like this.
Step 1- Sew the lining. Fold in half and sew around the bottom and side, leaving an opening at the top. Set aside. You're going to leave it like this, inside out.

Cut out all your trees, houses, stop signs, etc.
Lay it out on your green mat, how you want it to look. If you have iron on interfacing, you could use that under all the pieces to make it really secure. Cut that out now, and iron on.
Give the scraps to your kids so they can do it and leave you alone while you sew. :)
Pin the soft velcro approximately 1 inch from the right side, centered vertically. Sew all the way around. Even if it's the adhesive velcro.

You're not seeing double vision, I made a few of these at once.
Sew all pieces on. This requires patience and a radio or tv show, because it seems to take forever. But maybe I made multiple ones. And if you look closely, I used a blanket stitch to make it pretty and secure. If you used interfacing, I wouldn't worry about a blanket stitch, just use a single one, your trees and roads will stay in place. and won't fray very easily.
So here's my sewn on roads/house/trees/river.

Underneath is my outer car fabric. It's got the hook velcro attached. Hey, where did that come from?
Well. I took the two fabrics, put the roads fabric on top of the car fabric, just like it will be when all sewn. Then folded up the car fabric over, in thirds, so I can see where the velcro will go.
It looked like this as I folded it up:

Then I pinned the velcro to the lineup spot. And sewed on.
So now when it's folded partways, it looks like this:

Now take the two fabrics, car and roads, right sides together, and sew the sides and bottom seam. Leave the top one open. Turn right side out. 

Now you're almost done. You just need a button and elastic to keep the whole thing together as you run around town. 


Now take the two fabrics, car and roads, right sides together, and sew the sides and bottom seam. Leave the top one open. Turn right side out.
Take the lining, and put it in the far right side, openings lined up with openings. Like the picture below.

Now fold the lining by about .75" out, and the car/road fabrics .75 inch in, and pin the ribbon handles in between. So it should look like this, with no raw edges sticking out.
Fold the rest of the car and roads fabric in across the top of the rest of the bag, pin together right up until the tote bag opening.

Now sew. I started with the non tote bag side. Sew all the way down, about 3/8 of an inch from the top. When you get to the tote bag part, stop. Open the tote bag and sew across the one side, then around the circle to the other side. It's sounds complicated, but it's not. You just have to be careful not to sew the whole thing closed.
And as always, at this point I forgot to take a picture of what it will look like after you sew. Sorry.
Now you're almost done. You just need a button and elastic to keep the whole thing together as you run around town.
Ok, so here's where your button and elastic are going to go:

Sew on the button, so it's centered in between the tote bag handles. Mine isn't. And it bugs me. Let that be a lesson to ya. Sew it centered. Then fold up the bag and velcro it. And then mark where the elastic will go on the other side of the tote bag. It should be about where it is in the picture above.

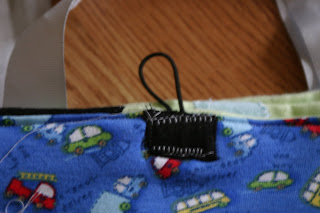
Take your 3 inches of elastic, fold in half.

Sew on the inside of the bag, or the outside with a patch like this, so it's secure and not showing raw seams.
It will hook over the bag onto the button, like this. Now it's not flying open. Huzzah!

The last step is to go find a birthday boy or little man, and some trains or cars, and show them your magic trick.
First a bag...

Then a road! Like magic!

Now go make one for your little man!
No comments:
Post a Comment